Golden Loaves from a Sealed Pot

Today we dive into pressure cooker bread using the Instant Pot, sharing practical techniques, reliable timings, and flavorful recipes. Expect crisp crusts finished under a broiler, tender crumbs proofed warmly inside the pot, and confidence-building steps shaped by testing, mishaps, and reader stories that turned sealed-steam experiments into dependable weekday loaves.

Steam, Heat, and Dough: The Fundamentals

Understanding what happens to dough in a sealed, steamy environment unlocks consistent success. Steam gelatinizes starches, pressure stabilizes heat, and gentle warmth encourages fermentation. We will connect hydration, gluten development, and timing with the Instant Pot’s predictable settings, so each batch rises with purpose. Expect science made friendly, quick checkpoints, and small rituals that transform sticky uncertainty into a repeatable, relaxing routine you can trust even on busy evenings.

Hydration and Gluten Development

Moist heat favors higher hydration, yet structure still matters. Mix until shaggy, rest for fifteen minutes, then fold rather than knead to align gluten without overworking. If the dough feels slack, add patience before flour. That pause lets starch swell and proteins link, creating a soft yet resilient network that handles pressure cooking without collapsing into gumminess or toughening under a finishing broil.

Comfortably Warm Proofing Without Guesswork

Use the yogurt setting on low, or keep warm for just a few minutes, then off, to create a cozy chamber. Place the covered dough on a trivet so heat diffuses gently. Mark container height with tape and set a timer, not a hope. Consistent proofing turns timing from fear to rhythm, helping you recognize lively yeast, gentle domes, and that sweet, wheaty aroma signaling readiness.

What Steam Really Does For Crust and Crumb

Steam keeps the surface elastic longer, allowing greater oven spring before set. Inside, starches gel smoothly, yielding a moist, even crumb. After cooking, a short broil evaporates surface moisture to develop color and snap. Think of this as a two-stage bake: the pot shapes the interior, the broiler polishes the exterior, and your hands orchestrate the graceful handoff between tenderness and crunch.

Choosing the Right Pan-in-Pot Vessel

Select a snug, round, oven-safe container that fits your liner with room for airflow. Stainless steel, enameled metal, or sturdy aluminum work well; glass can insulate too much. Line with parchment for lifting, and oil lightly to prevent sticking. The sides guide rise upward, encouraging a proud dome rather than a sprawling pancake. Test the fit cold first, then practice a safe, centered placement using your sling.

Foil, Lids, and Taming Condensation

A loose foil cap protects the dough from dripping moisture while letting steam circulate. Crimp gently, leaving space for expansion, and avoid sealing edges tight. If you notice pooling water, tent higher or switch to a lid with small vents. The goal is balance: capture humidity for oven spring, prevent soggy tops, and keep flavors concentrated until that final, satisfying color arrives under high heat.

Methods That Fit Real Life

Great bread should suit schedules, not rule them. No-knead workflows favor time over effort; quick kneads meet weeknight needs; cold fermentation deepens flavor while you sleep. The pot offers predictable warmth for proofing, while the stovetop and broiler deliver finishing control. You will discover checkpoints, not rigid clocks, turning family routines, commutes, and cravings into allies instead of obstacles along your baking path.

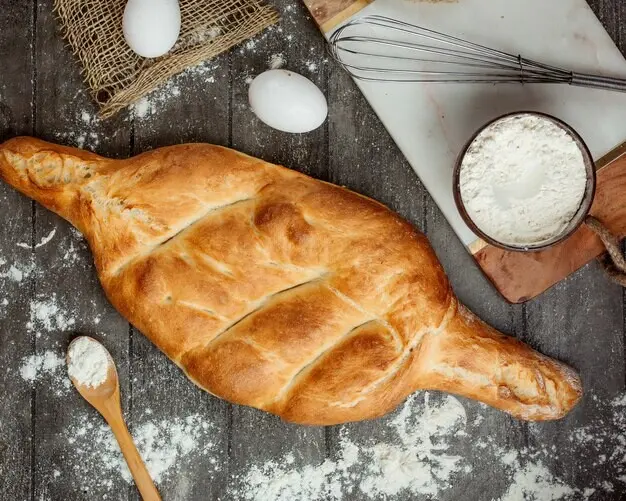
The Effortless No-Knead Path

Stir flour, water, yeast, and salt until shaggy, then let time do the heavy lifting. A long rest builds gluten quietly, especially in a humid environment. Shape gently, proof warm in the liner, then cook under pressure before a quick broil. This method invites beginners, soothes busy minds, and still yields impressive spring, making a first loaf feel like a small, joyful miracle worth repeating.

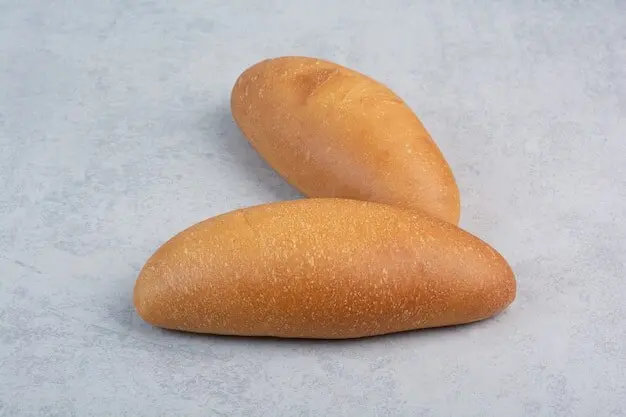
A Short Knead for Faster Evenings

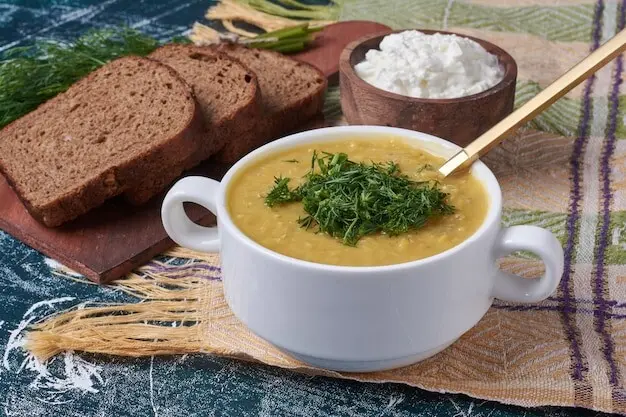
When dinner ticks closer, knead briefly to accelerate structure, then proof in a warm, covered bowl on the trivet. Watch volume and feel, not minutes. If you can press a finger and see a slow, gentle rebound, you are close. Cook, finish under broil, and serve soup-side within the hour. Your kitchen will smell like comfort, your table like welcome, and cleanup will not steal your night.

Overnight Chill for Deeper Character

Refrigeration slows yeast and invites complex flavors. Mix in the evening, chill tightly covered, and let enzymes work slowly. Next day, shape cold, proof with gentle warmth, then pressure cook and broil. The crumb becomes silkier, acidity brightens grain sweetness, and the crust crackles with satisfying notes. This approach rewards patience with bakery-level depth, even if your schedule throws curves and mornings start a little too fast.

Recipes to Start Baking Today

Here are approachable formulas built for the sealed-pot workflow, each verified through repeated trials. Expect straightforward ingredients, dependable timings, and options to adapt to altitude, flour brand, and personal taste. Use the Instant Pot for proofing and initial cook, then finish under high heat. Share results, tweaks, and questions, because every loaf you bake adds helpful notes for the entire community learning alongside you.

Fixing Mishaps with Confidence

Every baker meets dense crumbs, pale tops, or sticky centers. Diagnosis starts with feel, smell, and a simple thermometer. We will match symptoms to likely causes, then supply calm fixes you can apply immediately. Small shifts in hydration, proofing warmth, or finishing heat turn frustration into progress. Share your photos and notes, and we will walk through adjustments together until your loaf sings when it cools.
If slices feel heavy or gummy, the loaf likely needs more time or stronger structure. Extend pressure time by three minutes, ensure a ten-minute natural release, and verify internal temperature near 94 degrees Celsius. Fold more thoroughly before shaping, and avoid cutting hot. Let moisture redistribute during cooling, because patience can rescue texture as effectively as any extra minute spent under heat or steam.
Pale tops usually mean insufficient finishing. Move quickly from pot to broiler, brushing with oil, butter, or milk for deeper color. Preheat the broiler fully and elevate the rack. If condensation softens the top, tent higher next time. A few extra minutes transform appearance and bite, turning a timid shell into a confident, crackly finish that stands up proudly to spreads, soups, and tomorrow’s toasting.

Flavor, Nutrition, and Creativity

{{SECTION_SUBTITLE}}

Preferments That Elevate Every Slice

Mix a quick poolish or stiff biga the night before, proofing gently in the liner with the machine off and lid resting. These starters provide acids and aromas that survive steam, deepening sweetness and complexity. Fold into your dough, extend fermentation a little, and notice how even simple flour and water taste layered. Share your timing tweaks, because ambient temperature and flour strength shape personalities differently in every kitchen.

Whole Grains Without Heaviness

Blend bread flour with whole wheat, spelt, or rye, then bump hydration slightly to satisfy thirsty bran. Steam favors tenderness, but structure still matters, so include strong flour or vital wheat gluten when needed. A touch of honey softens edges without masking grain character. Proof patiently, cook thoroughly, and finish assertively. The result is nourishing, aromatic, and sliceable, perfect for savory toppings, hearty soups, or late-night buttered comfort.
Polihahipapolekikaku
Privacy Overview

This website uses cookies so that we can provide you with the best user experience possible. Cookie information is stored in your browser and performs functions such as recognising you when you return to our website and helping our team to understand which sections of the website you find most interesting and useful.